
How to Install Kitchen Cabinet Handles Like a Pro in Your Charleston Remodel
Key Takeaways
Cabinet handles can completely refresh your kitchen’s look, adding both style and function to your Charleston remodel.
Accurate measuring, drilling, and alignment are key to achieving a clean, professional finish.
Use tools like a hardware template and masking tape to ensure consistency and prevent wood damage during installation.
Handle placement should be 2–3 inches from the cabinet edge and centered for drawers to maintain symmetry.
Working with custom cabinet experts like Knotty Log Woodworks ensures your hardware complements the craftsmanship and design of your kitchen perfectly.
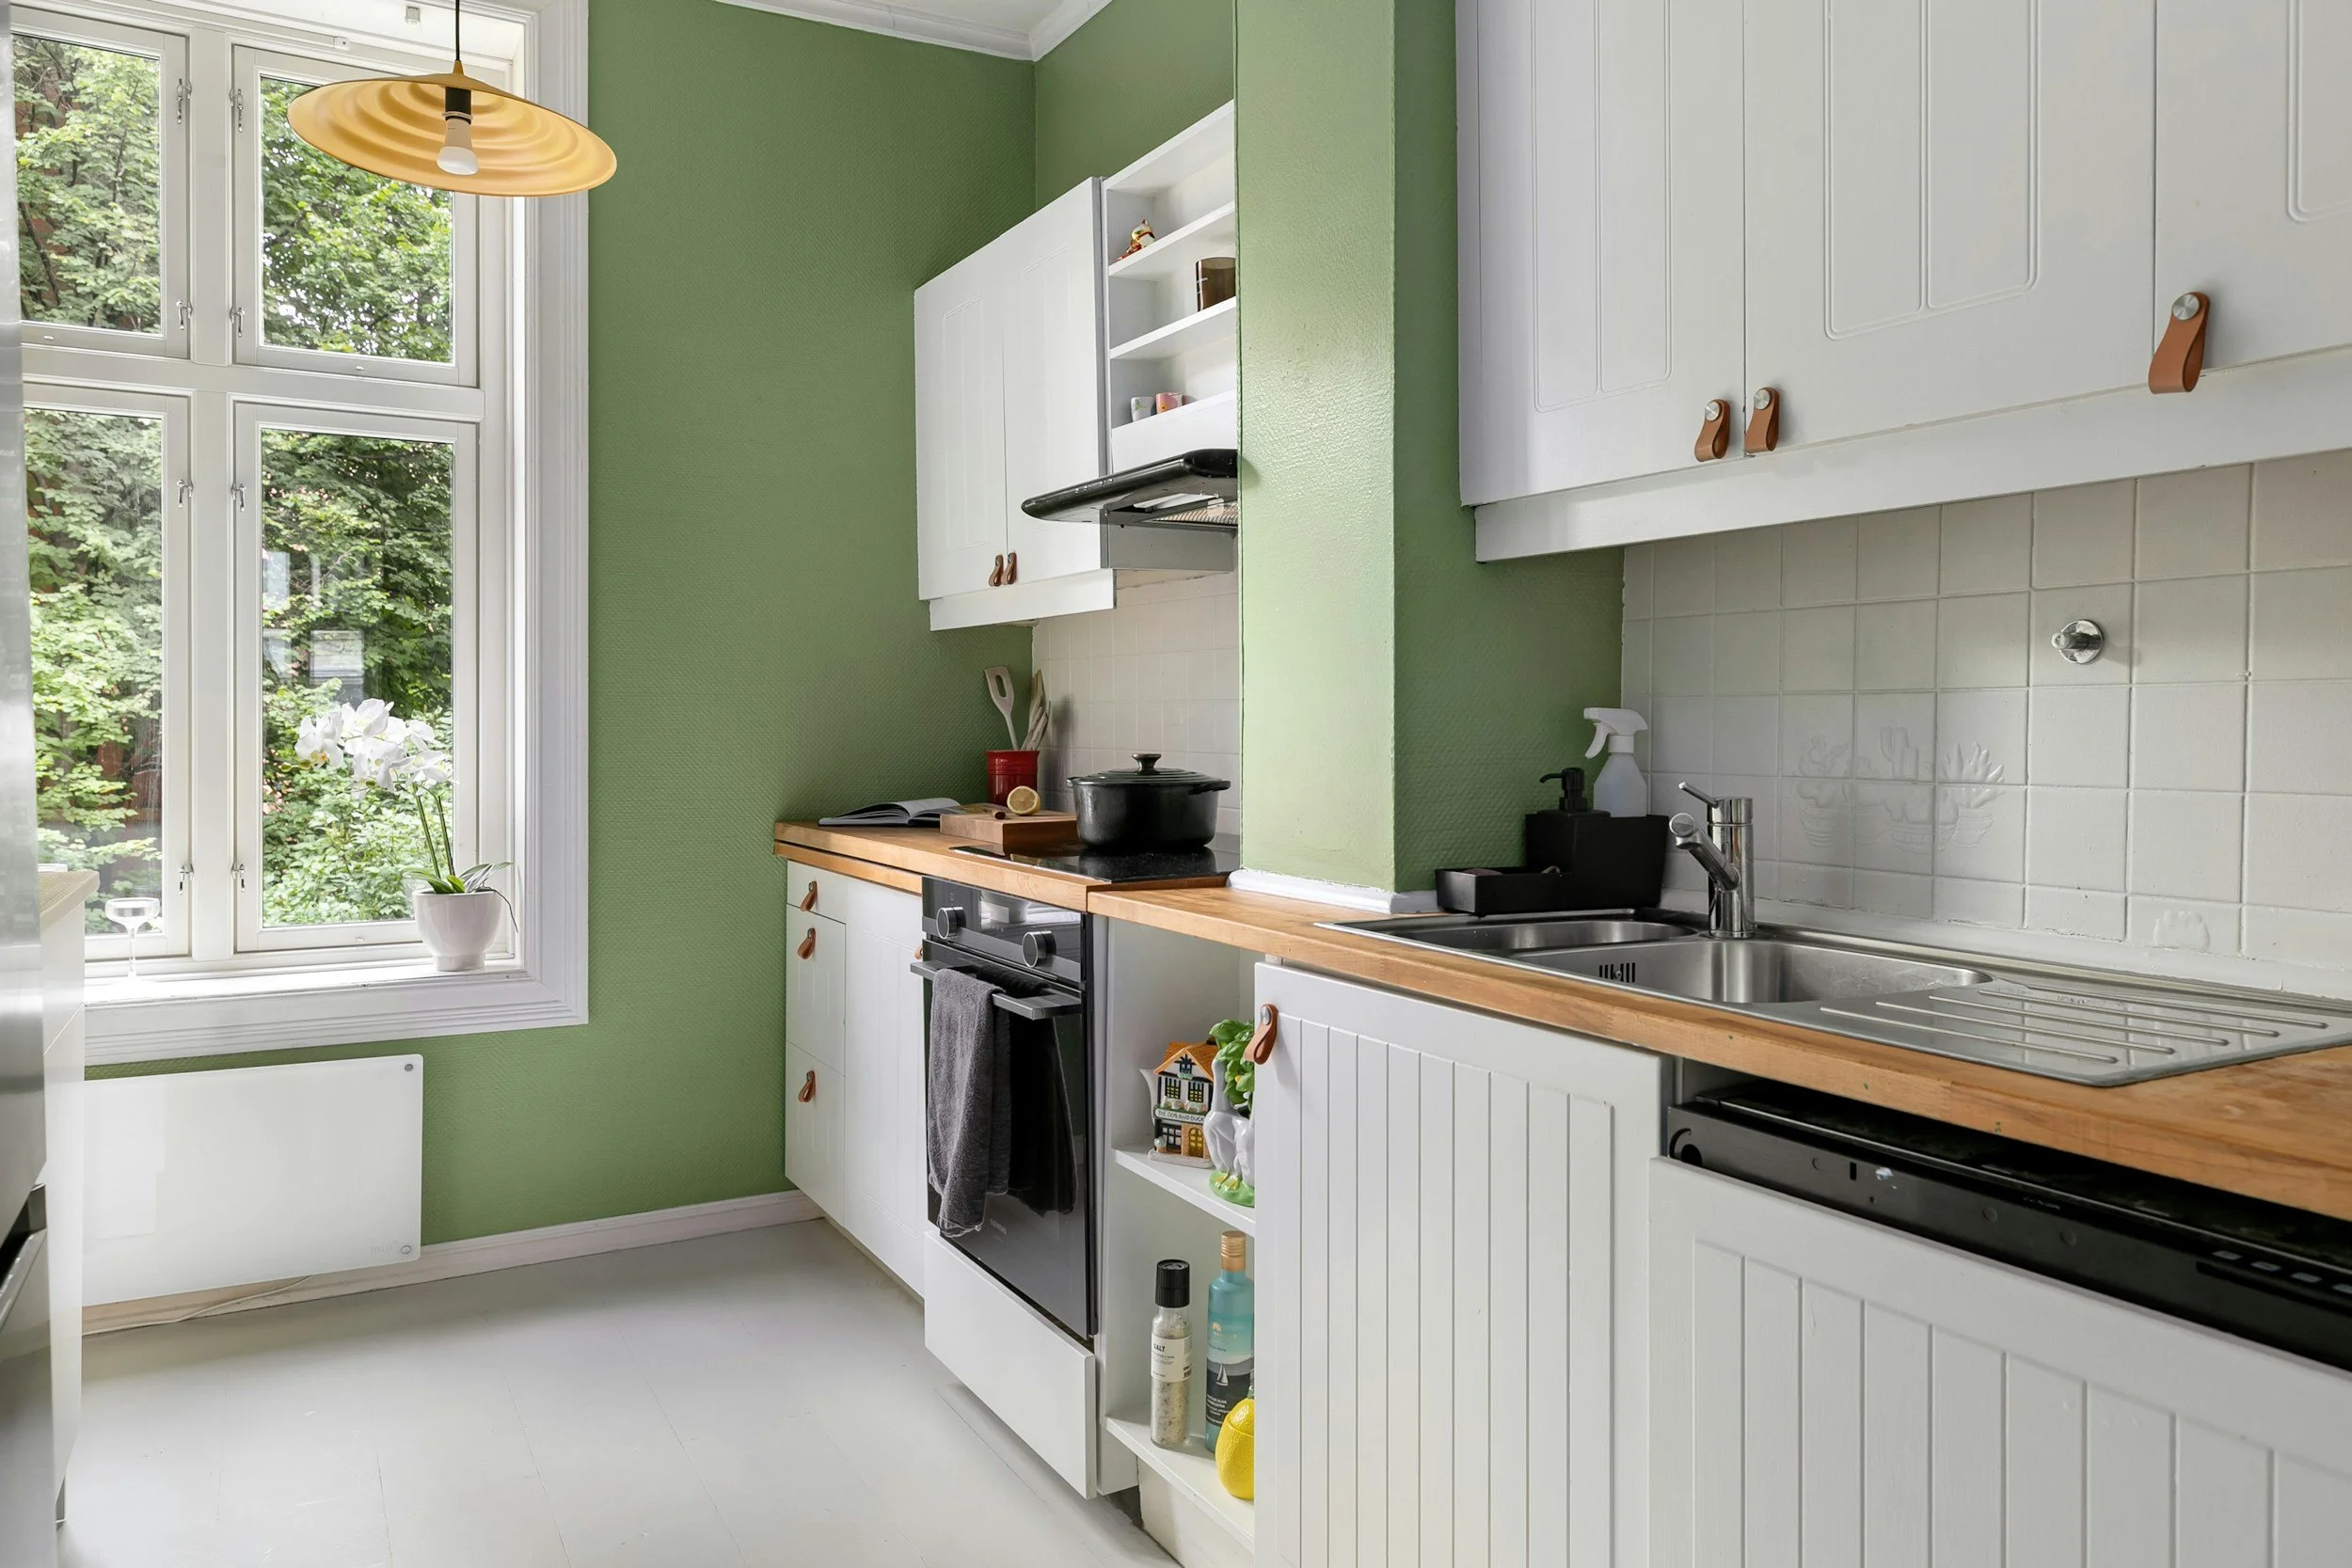
When remodeling your Charleston kitchen, even the most minor details can make a huge impact. One of the easiest and most rewarding upgrades you can make is adding new cabinet hardware. Knowing how to install kitchen cabinet handles correctly not only enhances your kitchen’s style but also ensures functionality and longevity.
Whether you’ve chosen sleek modern pulls or traditional knobs, this step-by-step guide will help you install cabinet handles like a pro, without damaging your new cabinetry or wasting time on guesswork.
Why Updating Cabinet Handles Matters
Cabinet handles might seem like a minor detail, but they can completely transform your kitchen’s overall look. In fact, hardware acts like “jewelry” for your cabinets, adding personality, contrast, and visual balance.
Replacing or upgrading handles can:
Refresh outdated cabinets during a remodel
Improve ergonomics and accessibility.
Complement Charleston’s coastal or traditional design styles.
Increase resale appeal with a polished, finished look.
Before you start, take time to plan placement, alignment, and style to ensure a professional result that enhances your cabinetry’s craftsmanship.
Tools and Materials You’ll Need
Before learning how to install kitchen cabinet handles, gather these essential tools and materials:
Measuring tape
Drill and drill bits (3/16" bit for most screws)
Level or cabinet hardware template
Pencil or painter’s tape for marking
Screws (usually included with the handles)
Screwdriver
Masking tape (optional to prevent splintering)
Tip: If your cabinets are custom-made like those from Knotty Log Woodworks, check with the craftsman for specific hardware recommendations to match the wood and design.
Step-By-Step Guide: How to Install Kitchen Cabinet Handles
1. Plan Your Hardware Placement
Decide where you want to position your handles before drilling any holes.
For drawers: Center the handle horizontally and vertically for a clean, balanced look.
For cabinet doors: Align the handle vertically, typically 2 to 3 inches from the bottom corner on upper cabinets and the top corner on lower ones.
Use painter’s tape to test positioning visually before committing.
2. Mark and Measure Precisely
Accuracy is key. Measure the distance between screw holes on your handle (called the center-to-center measurement). Standard sizes for modern pulls are 3 inches, 4 inches, or 96mm.
Use a cabinet hardware template or make a cardboard guide to ensure consistent placement across all doors and drawers.
3. Drill the Holes Carefully
Place a piece of masking tape where you’ll drill to prevent splintering on wood finishes. Use a sharp drill bit slightly smaller than your screw size.
Drill straight through the door or drawer front, maintaining a steady hand. For custom cabinets, drill slowly to avoid cracking the finish or veneer.
4. Attach the Handles
Insert screws from the inside of the cabinet and secure them into the handle on the outside.
Tighten gently using a screwdriver; over-tightening can strip the screw hole or damage the wood.
Check each handle’s alignment as you go to maintain a uniform, professional appearance.
5. Check Alignment and Functionality
Once all handles are installed, step back and check their alignment using a level or by visual inspection. Open and close each cabinet door and drawer to ensure smooth operation.
If any handles feel loose, re-tighten the screws. If holes are misaligned, use wood filler and re-drill to correct the placement.
Choosing the Right Style of Cabinet Handles
In Charleston’s diverse architectural landscape, from historic downtown homes to modern coastal condos, cabinet handle styles can dramatically shape your kitchen’s personality.
Here are some popular styles to consider:
Bar Pulls: Sleek and modern, perfect for minimalist designs.
Cup Pulls: Ideal for farmhouse or cottage-style kitchens.
Knobs: Classic and versatile, suitable for traditional cabinetry.
Edge Pulls: Great for contemporary spaces with seamless cabinetry lines.
Custom cabinet makers like Knotty Log Woodworks can help you pair the right hardware with your cabinetry’s wood type, stain, and finish.
Common Mistakes to Avoid When Installing Handles
Even simple projects can go wrong without planning. Avoid these pitfalls:
Skipping Measurements: Eyeballing placement leads to uneven handles.
Using the Wrong Drill Bit: This can cause loose screws or splintered wood.
Over-Tightening Screws: May crack the wood or warp the handle base.
Mismatched Hardware: Always check handle size, finish, and spacing consistency.
Taking your time and double-checking each step ensures a professional-looking finish every time.
Make Every Detail Count in Your Charleston Kitchen
Learning how to install kitchen cabinet handles properly can take your remodel from good to great. With precise measurements, quality hardware, and a steady hand, you can achieve a professional finish that elevates your kitchen’s look and functionality.
Even better, the right handles bring your cabinetry’s craftsmanship to life, adding character and charm to your Charleston home.
Upgrade Your Charleston Kitchen With Custom Cabinets
At Knotty Log Woodworks, we specialize in custom wood cabinetry and millwork that combines artistry with everyday functionality. From handcrafted cabinets to precision-installed hardware, our expert team ensures your remodel looks flawless down to the smallest detail.
Contact us today for a free kitchen design consultation and estimate, and let us help you create a kitchen that blends beauty, craftsmanship, and coastal charm.
FAQs About Installing Kitchen Cabinet Handles
What Is the Standard Placement for Cabinet Handles?
The standard placement is 2.5 to 3 inches from the edge of the cabinet door or drawer front. Handles on drawers are centered horizontally. However, placement can vary based on style and cabinet size. Templates make achieving uniform results easier.
What Tools Do I Need to Install Cabinet Handles?
You’ll need a measuring tape, a drill, a level, a pencil, screws, and a screwdriver. Using a hardware template helps maintain consistent spacing. Always measure twice before drilling. A simple toolkit makes the installation process quick and precise.
Can I Install Cabinet Handles Without a Drill?
Yes, but it’s not ideal. You can use a screwdriver and small pilot holes if you don’t have a drill. However, this method takes longer and may result in misalignment. For best results, use a drill with a depth stopper to protect your cabinet surfaces.
How Do I Fix Misaligned Cabinet Handles?
If holes are slightly off, fill them with wood filler and let it dry before re-drilling in the correct spot. Use a template to guide your new holes. For larger mistakes, consider decorative backplates to cover errors. Precision ensures a polished final look.
Should Cabinet Handles Match My Kitchen Faucet or Appliances?
Not necessarily, but coordinating finishes creates a cohesive design. For example, brushed nickel handles pair well with stainless-steel appliances. Matte black or bronze hardware adds contrast to white or light wood cabinets. Consistency in tone and style enhances overall harmony.